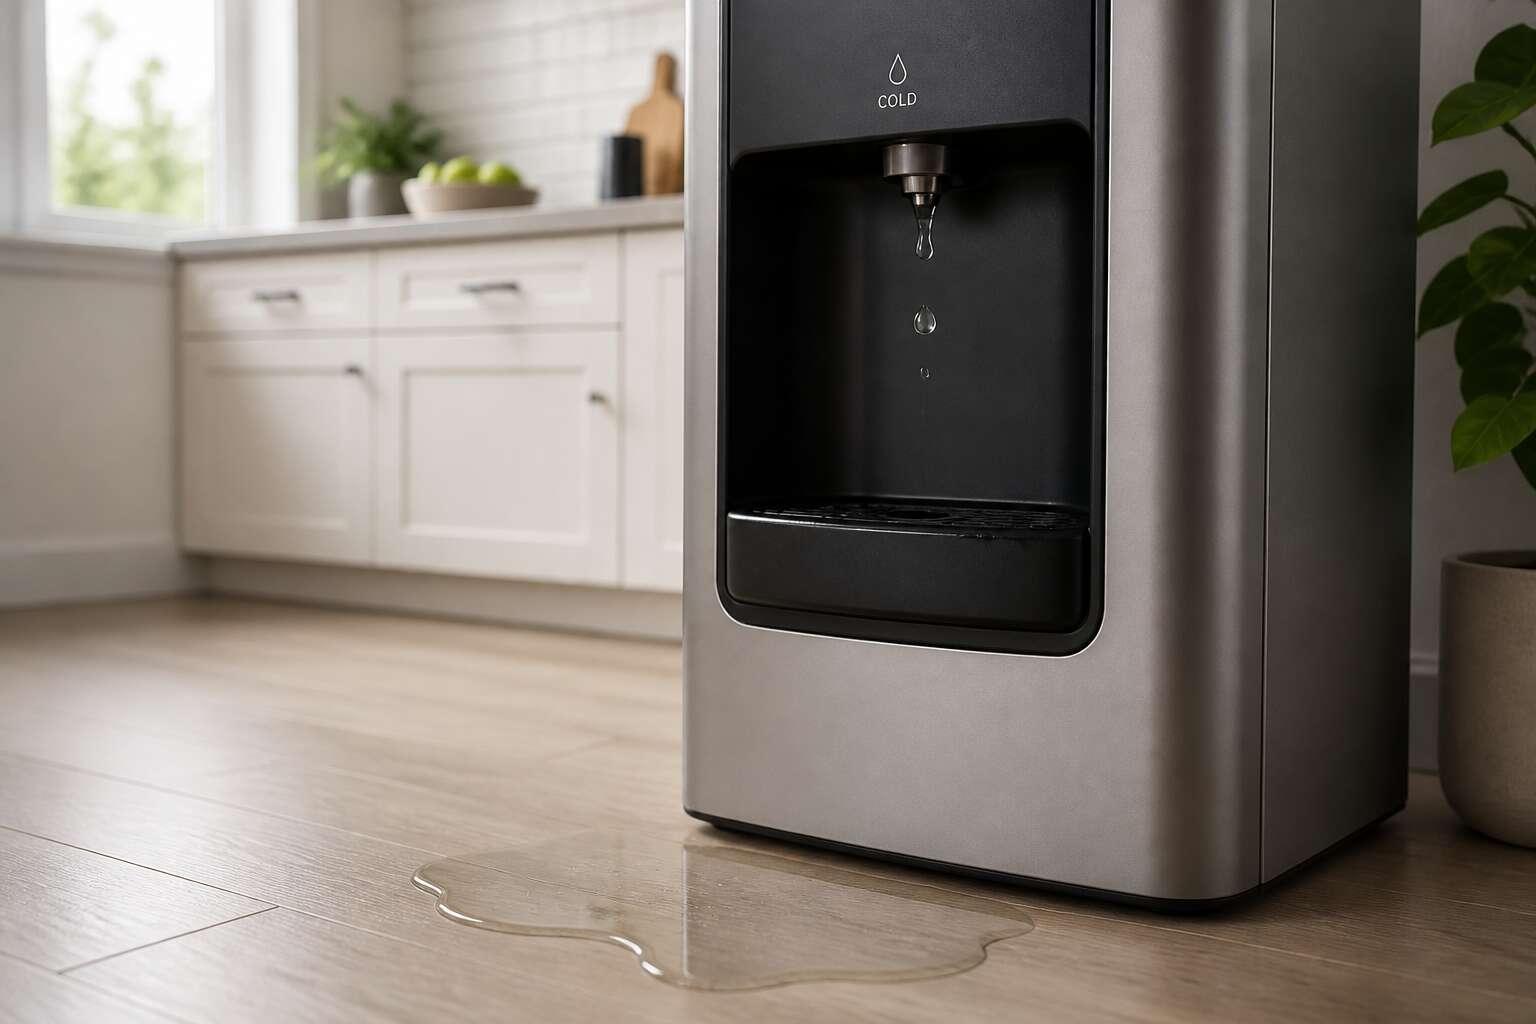
Common Culprits Behind Leaks
Faulty Seals and Gaskets
Most people never give the seals at the top of their dispenser a second thought. Across South African offices, I have inspected dozens of units, and a cracked gasket is the first thing I look for when a water dispenser leaking problem appears. The rubber gets hard from temperature changes and mineral deposits. A plastic bottle’s neck presses down, and the seal should cradle it tightly. When that seal loses its flexibility, water escapes around the edge.
Small tears often go undetected. Heat inside the machine accelerates the damage, and some seals wear out after two years. If the problem goes unnoticed, water dispenser leaking can extend to internal connections and the damage multiplies. Grit builds up on the gasket surface and grinds against the rubber, making the condition worse.
Cracked Reservoir Tanks
The reservoir tank is where the trouble hides! Across my inspections in Johannesburg and Durban, I have seen polycarbonate tanks develop hairline fractures that defy detection. The plastic becomes brittle after prolonged exposure to UV light, especially when dispensers sit near windows. A fracture expands slowly, then ruptures without warning. Water dispenser leaking from the base often traces back to these cracks.
The tank’s internal seams deserve scrutiny. Moulding flaws from the factory can weaken the structure, while poor handling during delivery creates stress points. Here is what I check when I suspect reservoir damage:
- Cloudy patches that signal micro-cracking
- Warped lids that force pressure onto the tank walls
- Mineral scale build-up that erodes the plastic
Each symptom points to the same outcome. The reservoir fails, and repeated water dispenser leaking incidents follow, eventually soaking the cabinet floor and surrounding area.
Loose Drain Pan Connections
Some leaks never touch the reservoir. The drain pan sits beneath the dispensing area, collecting spills and condensation. Its connections loosen over time, especially in units that get jostled during cleaning or moved across tiled floors. A loose inlet tube allows water to escape before it reaches the pan. The result is the same water dispenser leaking pattern, pooling beneath the unit without a single crack in sight. Water dispenser leaking from the base often gets blamed on the tank, but the drain pan tells a different story.
I look for specific signs when I inspect these connections:
- Dampness concentrated on one side of the cabinet base
- Corrosion around the drain fitting, a sign of prolonged moisture
- Pan misalignment after someone replaced it incorrectly
The connection fails quietly. No dramatic rupture, just a steady drip that works its way into the cabinet seams.
Worn Out Supply Lines
Every water dispenser leaking diagnosis has a hidden variable. The supply line is the silent component that carries water from the main into the unit. In South African homes, where municipal pressure can spike without notice, these lines endure constant stress. The flexible tubing often develops micro-fractures that remain invisible to the naked eye.
I have seen supply lines fail at the compression fitting or along the bend where the tube enters the cabinet. The leak is slow. It follows the line downward and emerges at the base, mimicking a tank problem.
- Tubing made from older PVC compounds that have turned brittle
- Kinks from installation that create weak points
- Fittings that were over-tightened and cracked the ferrule
Water dispenser leaking from a worn supply line rarely announces itself. The moisture wicks along the tube and pools beneath the dispenser days after the first drip.
Step-by-Step Leak Assessment
Inspecting the Drip Tray and Valves
A single faulty valve can waste over 10,000 litres a year, so a water dispenser leaking demands immediate attention! The true source often hides in two places: the drip tray and the valve housings.
I pull the drip tray out and angle it toward light. Check for hairline cracks near the drain slot and run a finger along the bottom edge. Chalky scale prevents a flush seat, causing a silent weep. Wipe the cradle and reinsert firmly.
Open the cold tap for five seconds, close it, then watch the spout. A delayed drip indicates a worn internal washer. Inspect the valve stem under a torch for pitting. Follow this sequence:
- Dry the tray and cradle.
- Run each valve, then close tightly.
- Wait three minutes and feel under the spout.
- Trace any dampness to its origin.
This pinpoints the problem’s origin in the tray’s alignment or the valve mechanism, narrowing the repair.
Tracing the Water Supply Connections
Turn the pressure off at the wall valve. The silence after the water stops tells you more than a full line ever will. Follow the tubing from the inlet valve to the dispenser’s back panel. A water dispenser leaking often announces itself as a single cold thread along the underside of a fitting. The assessment follows a blunt sequence:
- Run a dry hand along every joint.
- Check the brass compression nuts; they must seat flush against the ferrule.
- Probe the push in connectors with a flashlight to reveal a cracked collet.
- Wipe each connection dry and wait ten minutes.
Moisture after the wait marks the exact spot where the seal failed. This isolates the culprit behind the water dispenser leaking without removing a single pipe.
Examining the Cooling System Components
Most people never look inside the compressor compartment until the puddle reaches their shoes. The cooling system operates under pressure and temperature swings that make any weak point obvious. Start with the refrigerant lines where they bend near the evaporator plate. A water dispenser leaking from this zone usually leaves a fine oily residue alongside the moisture, which separates condensation from a genuine coolant breach.
Condensation itself collects along the cold tank’s outer wall during high humidity, a common condition in coastal South African kitchens. The foam insulation wrapping that tank must stay dry. Wet foam loses its thermal barrier, forcing the compressor to run longer and sweat harder. Run your palm across the compressor top after a full cooling cycle. Any dampness there signals a failed insulation seam.
- Inspect the condenser fan blades for dust caked between the fins.
- Trace the copper capillary tube for kinks or flat spots.
- Check the evaporator drip tray for mineral scale that blocks drainage.
Each component interacts with the next, and a single cracked grommet can send water across the whole base plate. The cooling system demands patience, but the evidence always collects in one place.
Checking the Overflow Indicator
The overflow indicator rarely announces itself. It sits quietly inside the drip tray housing, waiting for the moment when the reservoir has taken more than it can hold. When a water dispenser leaking happens, the indicator often holds the first clue, but only if you know where to look. The float mechanism can stick, the sensor can corrode, or the wiring can simply lose contact.
I have seen units where the indicator light stayed off while water pooled underneath. The fault was not the sensor itself, but the alignment of the float arm against the micro switch. A slight bend changes everything.
- Remove the drip tray and inspect the float arm for movement.
- Clean the sensor contacts with a dry cloth.
- Check the wiring harness for chafing.
Each of these actions takes seconds, yet they reveal the difference between a minor blockage and a slow, persistent water dispenser leaking issue.
Reviewing the Bottle Probe Assembly
The bottle probe assembly is the conscience of the machine. It tells the reservoir when enough is enough. When this mechanism fails, the unit keeps drawing water until the seals give way. I have watched a water dispenser leaking from a full bottle, the probe reading an emptiness that did not exist. The irony is quiet: the machine trusts a sensor more than its own physical reality.
In South African homes, where a 25 litre bottle sits heavy on the neck, the probe endures constant pressure. Mineral buildup dulls its sensitivity. A probe that hesitates allows the tank to overfill, and the resulting water dispenser leaking becomes a symptom of a machine that lost its timing.
- The probe tip may be coated in calcium
- The float bracket can warp from heat
- The connector pins corrode slowly, invisibly
Each failure mode leaves the cabinet damp and the owner confused.
Quick Fixes for Minor Drips and Seepage
Tightening Loose Connectors and Fittings
When a water dispenser leaking starts as a slow, rhythmic drip from the base, the culprit is often a loose connector. Those unassuming plastic or brass junctions can loosen from temperature shifts and daily use. I have seen many a kitchen floor saved by a simple quarter turn!
Begin by inspecting the inlet and outlet fittings where tubing meets the reservoir. A gentle wiggle reveals play. Tighten them clockwise with a wrench, but only until snug, never forcing. For quick fixes, focus on these spots:
- The cold water tank inlet connector
- The faucet hose coupling
- The rear cabinet bulkhead fitting
Each of these, when loose, invites seepage that mimics a larger fault. A water dispenser leaking from a loose fitting responds well to this simple attention. A careful hand and a few minutes often silence the drip without replacement parts.
Replacing the Rubber Washer
Every water dispenser leaking saga begins with a single drop. That persistent drip, gathering on the base, often traces back to a tired rubber washer. I have found that replacing this small, rubber disc restores silence to the kitchen.
The washer sits inside the faucet handle or the spout assembly. Over time, mineral-laden water flattens its shape. Remove the faucet screw, lift the handle, and slide out the old washer. Fit the new one snugly, reassemble, and test the flow.
- Turn off the power and disconnect the bottle.
- Drain the residual water from the tap.
- Swap the washer and tighten gently.
This simple repair addresses most minor drips without calling a technician.
Clearing Blocked Drain Tubes
A single blocked drain tube causes more base pools than any cracked reservoir. The water dispenser leaking from the base often stems from a tiny obstruction, not a major break. Start with the drip tray, lift it, and inspect the outlet. A wad of mineral scale can halt the flow.
For minor drips and seepage, try these quick fixes: clear the drain line’s mouth, flush with warm vinegar, and straighten any kinked tube. These steps take less than three minutes. If the water still crawls outward, the tube itself may need a wire pass.
Clearing blocked drain tubes demands a gentle hand. Remove the tube, run a flexible brush through it, and check the reservoir’s lip. Proper flow resumes when air bubbles escape freely. This stops the pooling and preserves the flooring.
Reseating the Tank Lid Properly
A tank lid that sits askew pushes water sideways. The water dispenser leaking from beneath the top cover often traces back to a lid that shifted during a hasty bottle swap. Many users ignore the seal lip, assuming contact equals closure.
Reseating takes thirty seconds. Lift the lid fully and wipe the rim dry. Match any alignment arrows. Press down until the internal collar clicks. Check the vent hole while you are there. A blocked vent builds pressure, forcing water past the gasket.
Watch for these signs of a poor seat:
– Water beads along the top edge after dispensing
– A soft hiss escapes from under the lid
– The lid springs back when pressed
If you spot any, reseat the lid and run a cycle. The water dispenser leaking stops when the vacuum seals evenly.
Adjusting the Bottle Adapter
Water dispenser leaking from the bottle adapter starts as a whisper. The adapter shifts a millimeter under the weight of a full bottle, and the drip begins. You spot it on the countertop after hours of silence, a slow gathering that spreads without warning.
Adjusting the adapter is quicker than locating a spanner. Unseat the bottle, grip the collar, and rotate until the valve stem aligns with the probe’s centre. Alignment matters more than tightness. A crooked fit lets seepage slide along the threads, especially when South African heat swells the plastic.
Watch for these warnings:
- A drip that vanishes when the bottle lifts
- Moisture on the adapter’s outer neck
- A gurgle after the pump rests
Once aligned, the seal tightens without extra force. The water dispenser leaking ceases because the flow path stays true. Recheck after every bottle swap; the collar settles differently each time.
Cleaning Residual Moisture Around the Spout
Minor drips around the spout rarely mean the internal valves have failed. A thin film of residual moisture settles in the nozzle crease after each pour. In a warm South African kitchen, that film dries into a crust that catches the next stream and redirects a droplet sideways. The water dispenser leaking appears to be from the machine itself, but it is only surface seepage. A dry cloth pressed against the underside of the spout guard removes the residue before it hardens.
For buildup that has already formed, a cotton swab dampened with vinegar works along the rim without disturbing the delivery tube. I have also seen a simple toothpick clear grit from the tiny groove where the spout meets the drip tray. That groove collects more moisture than any valve in the system. Cleaning it restores the flow path.
Managing Moisture and Preventing Future Issues
Leveling the Appliance Correctly
A level appliance is your first defence against stray water. When the dispenser tilts, internal reservoirs shift, encouraging slow seepage that eventually becomes a noticeable water dispenser leaking issue. Place a spirit level across the top and adjust the feet until the bubble sits centred.
Do this twice a year, as flooring can settle. A stable base also reduces stress on the drain pan and supply lines, preventing hidden moisture from collecting beneath the unit. Check the rubber feet for wear; replace them if they compress unevenly.
- Use a carpenter’s level on both front and side planes.
- Lock the adjustment nuts after setting the height.
Recheck after a week, because vibration from the cooling compressor can loosen the feet over time.
Checking the Drain Pan Alignment
The drain pan sits beneath the spout and collects every stray drop. When it shifts out of alignment, water misses the catchment entirely. That wasted moisture pools on the counter, then seeps downward into the cabinet seams.
Aligning the pan requires attention to the grooves and clips that hold it in place. Run your fingers along the edges to feel for obstructions. A single grain of debris can tilt the pan enough to redirect the stream.
- Check the pan sits flush against the back wall.
- Confirm the front lip catches the spout’s full arc.
- Wipe the pan’s underside dry before reseating.
Moisture left in the channel invites mineral buildup. That buildup becomes a wedge, forcing the pan out of true. Inspect the drain pan every few weeks, especially after heavy use. A simple adjustment now prevents a water dispenser leaking headache later.
Controlling Room Humidity Levels
Humidity in a coastal South African home can hover near saturation during summer. That moisture migrates into every seam and crevice, softening seals and driving mineral growth. If you have been dealing with water dispenser leaking, the ambient air often shares the blame.
Room humidity above sixty percent forces condensation onto cold metal and plastic. The dispenser’s exterior, the supply line, the drain channel, all turn damp. That dampness collects and looks identical to a true leak. I recommend placing a hygrometer near the unit to track the room’s true condition. Ventilate the kitchen after cooking or mopping, and consider a dehumidifier for persistent muggy spells.
We rarely think of air as a liquid source, but at the coast it is exactly that. Control the air, and you remove a stubborn variable from the water dispenser leaking equation.
Implementing a Regular Cleaning Routine
Keeping moisture in check takes more than fixing the obvious parts. I have seen many units where the culprit was simply neglect. A regular cleaning routine keeps hidden pools from turning into the next water dispenser leaking saga. Wipe down the reservoir rim weekly, and pay attention to the base plate where grime loves to settle. For stubborn build-up, use a soft brush and warm vinegar solution.
- Remove and rinse the drip tray every few days
- Sanitize the spout area with a damp cloth
- Dry the exterior after each refill
This habit stops moisture from lingering, which means fewer surprises. You will catch early signs before they become a full blown water dispenser leaking incident around your coastal kitchen.
When to Call a Professional
Persistent Malfunctions After Troubleshooting
A water dispenser leaking after you have worked through every simple fix is no longer a nuisance. It is a signal. When the drip persists despite your best efforts, the problem has moved past washers and alignment. A professional can assess internal components that remain out of reach.
- Intermittent dripping that changes with the cooling cycle.
- Water pooling near the compressor or electrical housing.
- Sounds from the refrigeration lines that shift in pitch.
These symptoms point to sealed system damage or a faulty valve assembly. Attempting repairs on these parts risks electrical shock and voiding your warranty. A qualified repair person has the tools to diagnose the actual failure. In South Africa, where load shedding affects appliance pressure, a persistent leak often traces back to power surges. Let a professional handle that diagnosis before the water causes structural damage.
Electrical Hazards and Safety Red Flags
Electricity and water form a dangerous combination. When a water dispenser leaking persists after your fixes, the electrical dimension becomes urgent. Moisture near the power cord or outlet can cause short circuits, blown fuses, and in rare cases, electric shock. Do not kneel on a damp floor to inspect the rear panel!
Load shedding in South Africa makes the situation worse. Power surges stress the compressor relay and the thermostat. A dispenser that clicks, buzzes, or trips the breaker after dripping offers a clear warning signal.
- Burning smells from the back panel
- Corrosion on the plug pins
- Frequent tripping of the circuit breaker
Each of these symptoms points to compromised insulation or a failing component, and I have seen the aftermath of ignoring them. Whenever a water dispenser leaking creates puddles near electrical points, assume risk. A qualified repair technician has the instruments to trace the fault without exposing themselves to live parts. Your safety matters more than saving a service fee.
Understanding Warranty Coverage
There comes a moment in every water dispenser leaking saga when the spanner must be set down. That moment is printed in tiny font on your warranty card. In South Africa, where load shedding tests your patience, voiding a warranty over a stubborn drip is a mistake.
Call a professional when the leak appears after your repairs, or when the appliance still misbehaves after a full strip down. Technicians diagnose what your eyes cannot. More importantly, they document the fault legally.
Before you pay anyone, check your coverage:
- Does the warranty cover labour or only parts?
- Does the warranty require an approved repair agent?
- Does the warranty exclude water damage from neglect?
Understanding these terms prevents a surprise bill. Warranties become void when unauthorised screwdrivers touch the chassis. The water dispenser leaking may be small, but the cost of ignoring warranty clauses is not.
Scheduling Preventative Maintenance Inspections
A working water dispenser should sit silent. When it drips, you hear it. That steady tap is a slow leak, one that can waste thousands of litres a year. A water dispenser leaking at any rate needs professional eyes sooner rather than later.
Call a professional when load shedding has cycled your unit through repeated power cuts. Surges strain the compressor and valves. A technician can catch a failing part before water dispenser leaking starts. Schedule an inspection twice a year, or after any major outage. I have watched one surge kill a compressor.
Pros check mounting bushings, thermostat calibration, and pump alignment. They also look for hairline cracks in cooling lines and subtle pressure drops. These issues are invisible until you pull the unit apart.
If your machine is over three years old, book a maintenance slot. It is cheaper than a repair, and far cheaper than a ruined skirting board.




0 Comments